For those who cherish the flutter of perfect lashes but worry about the cost and chemical content of shop-bought adhesives, crafting your own eyelash glue at home offers a refreshing alternative. This approach not only stretches your beauty budget further but also gives you complete control over what touches your delicate eye area. With just a handful of readily available ingredients and a few minutes of preparation, you can create a bespoke adhesive that suits your skin perfectly whilst avoiding the harsh substances often lurking in commercial formulations.
Understanding the Benefits of Crafting Your Own Eyelash Adhesive
Cost-effectiveness and budget-friendly beauty solutions
Making your own eyelash glue transforms an expensive recurring purchase into a negligible household expense. Commercial lash adhesives can set you back several pounds each month, especially if you wear false lashes regularly, whereas homemade alternatives utilise ingredients already sitting in your kitchen cupboard or bathroom cabinet. A single jar of petroleum jelly and a box of vitamin E capsules can produce numerous batches of DIY eyelash glue, drastically reducing your overall beauty expenditure. This budget-friendly approach allows you to maintain your glamorous look without the financial strain, freeing up funds for other cosmetic treats or everyday essentials. The savings become even more apparent when you consider that professional eyelash extensions typically cost between a hundred and two hundred pounds and require maintenance appointments every four to six weeks, making homemade adhesive an economically sensible choice for daily wear.
Natural Ingredients and Reduced Risk of Allergic Reactions
One of the most compelling reasons to switch to homemade eyelash adhesive lies in the purity and transparency of its ingredients. Commercial glues often contain cyanoacrylate as their primary bonding agent, alongside rubber latex that can trigger severe allergic reactions in sensitive individuals, and sometimes formaldehyde or its derivatives which have raised health concerns over prolonged exposure. When you craft your own adhesive using simple components like honey, petroleum jelly, and vitamin E oil, you eliminate these potential irritants entirely. This natural approach proves particularly beneficial for those with sensitive skin or a history of contact dermatitis around the eye area. Homemade formulations using beeswax and tree resin derivatives offer gentler alternatives that work harmoniously with your skin rather than against it, reducing inflammation and the risk of developing chronic irritation. The transparency of knowing exactly what you apply near your eyes brings invaluable peace of mind that no ingredient label on a commercial product can match.
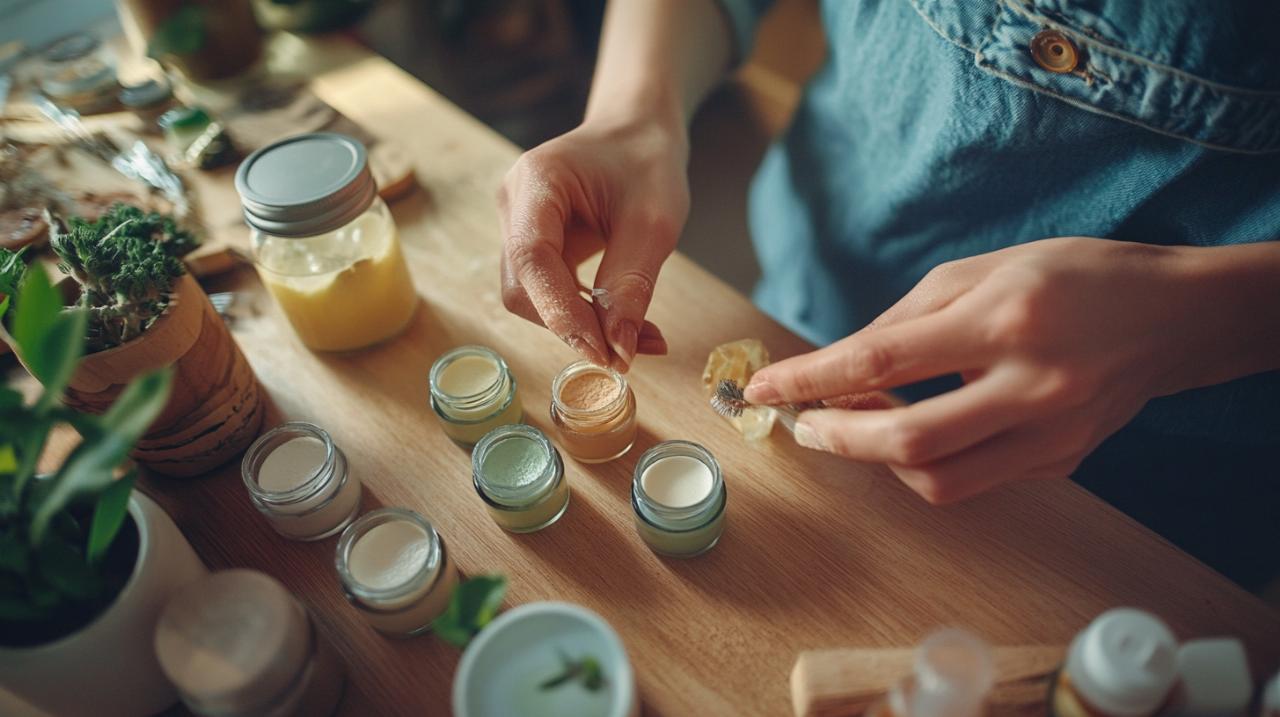
Essential Materials and Preparation for Your DIY Lash Glue
Gathering Safe and Effective Ingredients from Your Kitchen
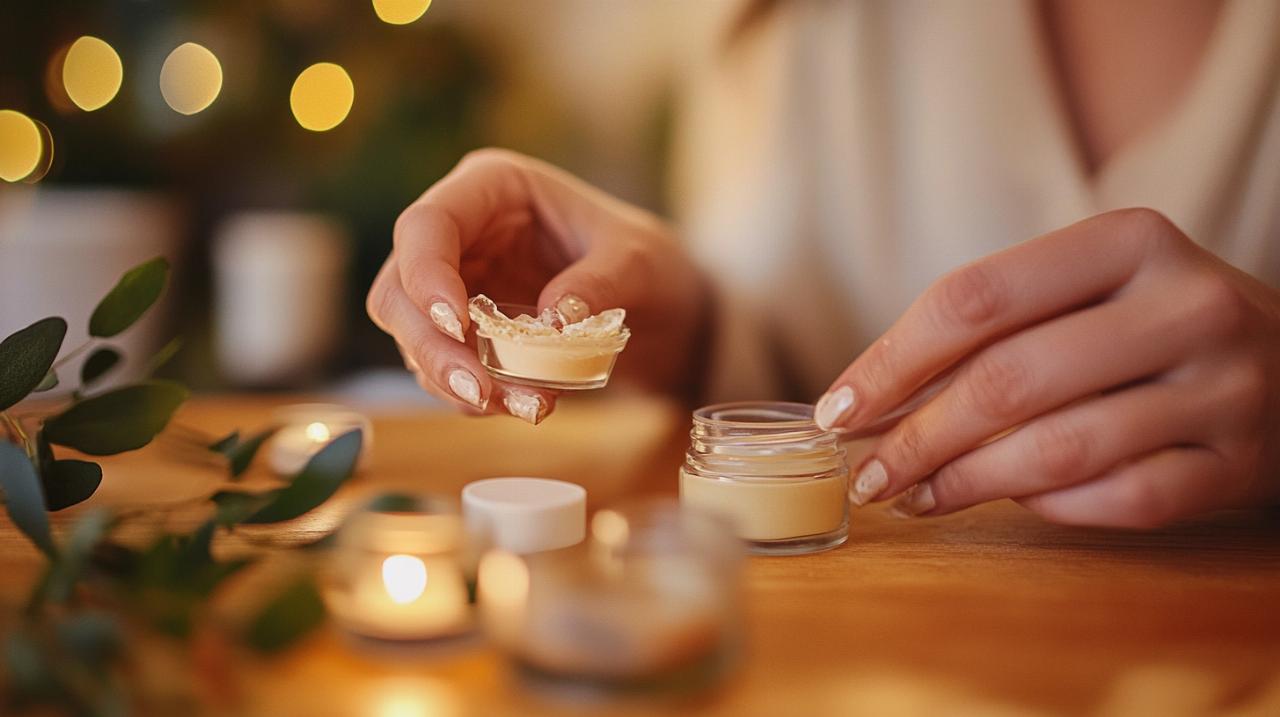
Creating effective homemade eyelash glue requires surprisingly few ingredients, most of which you likely already possess. For a petroleum-based formula, you will need water, approximately one teaspoon of Vaseline or any petroleum jelly variant, and the contents of one or two vitamin E oil capsules which add nourishing properties whilst improving the consistency. Alternatively, if you prefer a honey-based adhesive, gather equal parts honey and granulated sugar alongside a teaspoon of water, with optional corn syrup to enhance the tackiness. Both recipes rely on everyday household items that pose minimal risk when used carefully around the eye area. The beauty of these formulations lies in their simplicity and accessibility, eliminating the need for specialist supplies or complicated chemical compounds. Before you begin mixing, ensure all your ingredients are fresh and uncontaminated, as old or degraded materials may not bond effectively or could harbour bacteria that might cause infections near such a sensitive area.
Proper Hygiene and Storage Requirements for Homemade Adhesive
Maintaining impeccable hygiene throughout the preparation and storage process ensures your homemade eyelash glue remains safe and effective. Always wash your hands thoroughly before handling ingredients, and use clean utensils and containers that have been properly sanitised to prevent bacterial contamination. A small glass jar with a tight-fitting lid makes an ideal storage vessel, as it can be sterilised easily and prevents air exposure that might degrade the adhesive over time. Store your finished product in a cool, dry place away from direct sunlight, checking it regularly for any changes in colour, smell, or consistency that might indicate spoilage. Unlike commercial formulations packed with preservatives, homemade adhesive has a shorter shelf life, typically remaining viable for about one to two weeks when stored correctly. Label your container with the preparation date to help track freshness, and discard any batch that appears questionable rather than risking eye irritation or infection. This attention to cleanliness and storage might seem fussy, but it protects the delicate skin around your eyes from unnecessary harm.
Your Complete Step-by-Step Method for Creating Eyelash Glue at Home
Mixing and testing your homemade lash adhesive formula
To prepare the petroleum jelly-based formula, combine your water, petroleum jelly, and vitamin E oil in a small mixing bowl, stirring continuously until the mixture achieves a smooth, syrupy consistency that flows easily but retains some body. This process typically takes several minutes of patient mixing, as the petroleum jelly needs time to emulsify properly with the water-based components. For the honey-sugar variant, blend one teaspoon each of honey, sugar, and water together, stirring vigorously until the sugar dissolves completely and the mixture thickens slightly to a consistency resembling liquid caramel. Once your chosen formula reaches the proper texture, transfer it carefully to your prepared storage container, ensuring no air bubbles remain trapped inside. Before applying this new adhesive anywhere near your eyes, conducting a thorough patch test becomes absolutely essential. Apply a small amount to the inner part of your wrist or behind your ear, waiting at least twenty-four hours to observe whether any redness, itching, or irritation develops. Only proceed with facial application if this test reveals no adverse reactions whatsoever, as the eye area proves far more sensitive than other parts of your body and deserves this extra precaution.
Application Techniques and Safety Precautions for Best Results
Applying your homemade eyelash glue requires precision and patience to achieve the flawless finish you desire. Begin by preparing your false lashes, measuring them against your natural lash line and trimming if necessary to ensure a perfect fit that extends from inner to outer corner without overhanging. Using a concealer brush or clean mascara wand, apply a thin, even layer of your homemade adhesive along the band of the false lash, taking care not to overload it with excess glue that might seep onto your eyelid or create clumpy spots. This measured approach prevents the common mistake of using too much adhesive, which can result in a messy application and uncomfortable drying time. Wait approximately ten to fifteen seconds for the glue to reach its tacky phase, during which it transforms from wet and slippery to slightly sticky and ready to bond effectively. Using clean tweezers or your fingertips, position the lash as close as possible to your natural lash line, pressing gently but firmly to secure the bond whilst the adhesive sets. If any excess glue squeezes out during application, remove it immediately with a cotton bud before it dries and becomes more difficult to clean. Allow the adhesive several minutes to dry completely before applying mascara or using an eyelash curler to blend your natural and false lashes seamlessly together. When the time comes to remove your lashes, never pull them off forcefully, as this can damage your natural lashes and irritate your eyelid. Instead, use a gentle oil-based makeup remover to dissolve the adhesive gradually, working it carefully along the lash band until the false lashes slide away effortlessly. This considerate removal technique preserves both your false lashes for future wear and protects your delicate eye area from unnecessary trauma.