
Creating your own moisturising body milk at home is a delightful way to pamper your skin with natural, nourishing ingredients. This simple yet luxurious recipe combines the deeply hydrating properties of shea butter and almond oil with the soothing benefits of aloe vera and organic milk. By following a few straightforward steps, you can craft a personalised skincare product that rivals many commercial alternatives, all while knowing exactly what touches your skin. The process is both rewarding and practical, allowing you to tailor the fragrance and texture to your preferences.
Gathering your ingredients and equipment
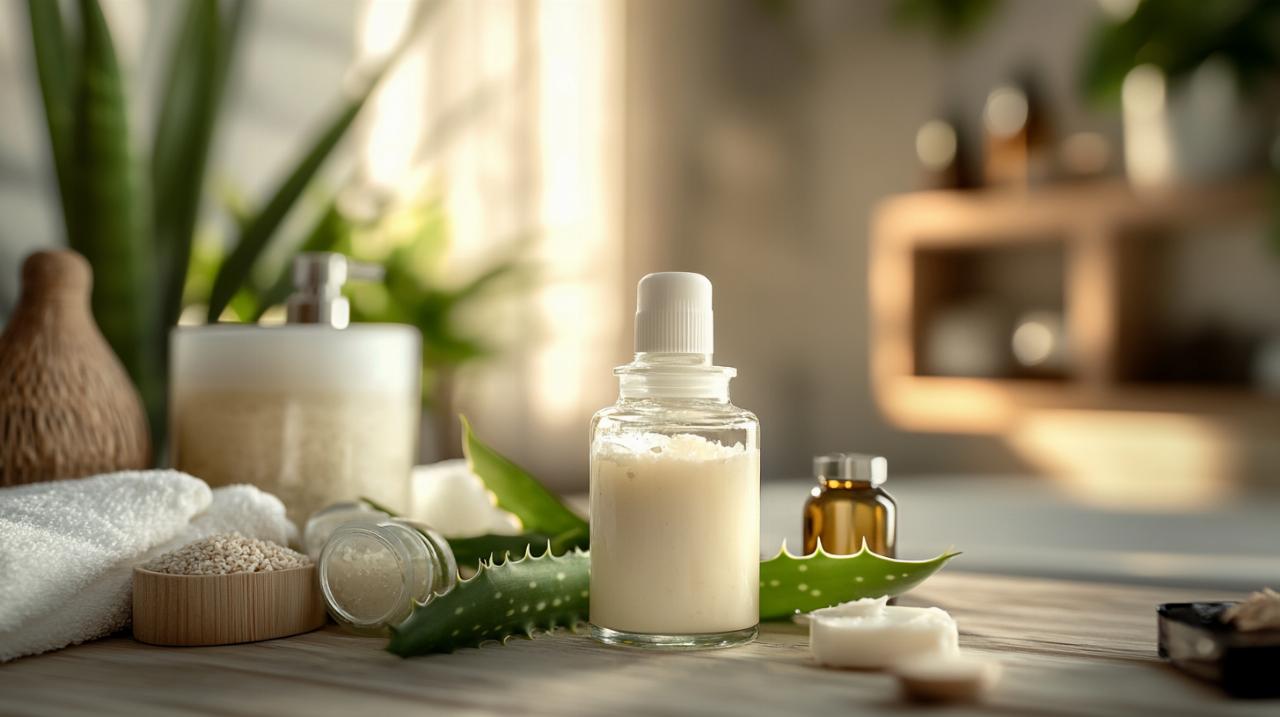
Essential ingredients for your body milk
The foundation of this moisturising body milk lies in carefully chosen natural ingredients. You will need 100 millilitres of almond oil, which serves as a light yet deeply penetrating base that absorbs quickly into the skin without leaving a greasy residue. Shea butter, measured at 50 grams, provides rich emollience and is renowned for its ability to lock in moisture and soothe dry patches. The addition of 200 millilitres of organic milk contributes lactic acid and proteins that gently exfoliate and soften the skin. Aloe vera gel, measured at 30 millilitres, brings its renowned healing and calming properties, making the body milk ideal for sensitive or irritated skin. Finally, a few drops of essential oils, such as palmarosa, add a subtle fragrance while offering additional skin-soothing benefits. Selecting high-quality, organic ingredients ensures the final product is free from unwanted chemicals and truly beneficial for your skin.
Selecting the Right Tools and Containers
Preparing your body milk requires only a few basic tools that are likely already in your kitchen. A water bath setup is essential for gently melting the shea butter without exposing it to direct heat, which could degrade its beneficial properties. You will also need a clean mixing bowl, a whisk or spoon for blending, and a clean bottle or jar for storage. Glass containers are preferable as they do not react with the ingredients and are easy to sterilise. Ensuring all your equipment is thoroughly cleaned and dried before use will help extend the shelf life of your homemade body milk and prevent contamination. Having a funnel on hand can make transferring the finished product into bottles much easier and cleaner.
Step-by-step preparation method
Melting and Blending the Base Ingredients
Begin the process by setting up a water bath. Fill a saucepan with a small amount of water and bring it to a gentle simmer. Place a heatproof bowl over the saucepan, ensuring the bottom does not touch the water. Add the 50 grams of shea butter to the bowl and allow it to melt slowly, stirring occasionally with a clean spoon. Once the shea butter has completely liquefied, pour in the 100 millilitres of almond oil and stir the mixture until it is fully combined and smooth. The gentle heat ensures that the delicate compounds within the shea butter remain intact, preserving its skin-nourishing properties. After blending, remove the bowl from the heat and allow the mixture to cool slightly, but not to the point where it begins to solidify again.
Incorporating milk, aloe vera, and essential oils
Once the shea butter and almond oil blend has cooled to a warm but not hot temperature, it is time to incorporate the remaining ingredients. Gradually add the 200 millilitres of organic milk, stirring continuously to ensure a smooth, emulsified consistency. The milk should blend seamlessly with the oils, creating a creamy texture. Next, add the 30 millilitres of aloe vera gel, continuing to stir until fully incorporated. The aloe vera not only enhances the moisturising effect but also gives the body milk a light, fresh feel. Finally, add a few drops of your chosen essential oils, such as palmarosa, which is known for its soothing and balancing properties. Stir the mixture thoroughly to distribute the fragrance evenly throughout the body milk. At this stage, the consistency should be smooth and pourable, ready to be transferred into your storage container.
Storing and using your homemade body milk
Proper storage techniques for longevity
To ensure your homemade body milk remains fresh and effective, proper storage is crucial. Pour the finished mixture into a clean, sterilised bottle or jar using a funnel to avoid spills. Allow the body milk to cool completely at room temperature before sealing the container. Once cooled, store the bottle in a cool, dark place away from direct sunlight and heat sources, such as a bathroom cabinet or a shelf in your bedroom. The natural ingredients do not contain synthetic preservatives, so refrigeration can extend the shelf life, typically keeping the body milk fresh for up to two weeks. Always check for any changes in smell or appearance before use, and discard the product if it appears off. Labelling the container with the date of preparation can help you keep track of freshness.
Application tips and safety considerations
Using your homemade body milk is a simple and enjoyable part of your daily skincare routine. For best results, apply the body milk to clean, damp skin immediately after bathing or showering, when your pores are open and more receptive to moisture. Dispense a small amount into your hands and gently massage it into your skin using circular motions, allowing the product to absorb fully. The lightweight texture makes it ideal for daily use, leaving your skin feeling soft, hydrated, and subtly fragranced. Before using the body milk all over, it is essential to perform a patch test, especially if you have sensitive skin or are using essential oils for the first time. Apply a small amount to the inside of your wrist or elbow and wait 24 hours to ensure there are no adverse reactions. This precaution helps prevent irritation and ensures the product is safe for your unique skin type. Enjoy the satisfaction of nourishing your skin with a product crafted by your own hands, knowing it contains only the finest natural ingredients.