Achieving a professional blush application can transform your entire makeup look, adding warmth, dimension, and a healthy glow to your complexion. Whether you're a makeup novice or someone looking to refine your technique, understanding the nuances of blush application is essential. From selecting the right formula to mastering placement and blending, each step plays a crucial role in creating that coveted radiant finish. This guide will walk you through expert techniques and practical advice to help you apply blush like a seasoned professional, ensuring your cheeks look naturally flushed and beautifully sculpted every time.
Mastering the Art of Blush Application Techniques
The foundation of a stunning blush look lies in understanding how to apply the product effectively. Many people make the mistake of simply sweeping colour across their cheeks without considering technique or precision. The key to a professional finish is knowing exactly where to place the blush and how to blend it seamlessly into your skin. This requires a thoughtful approach that takes into account your unique facial structure and the effect you want to achieve. By focusing on the apples of your cheeks for a natural glow, you create an immediate lift and youthful appearance. The apples are the fullest part of your cheeks, which become prominent when you smile. Starting here ensures that the colour sits where light naturally hits your face, mimicking a genuine flush.
Identifying the Perfect Placement for Your Face Shape
Face shape significantly influences where blush should be applied for the most flattering result. Those with round faces benefit from applying blush slightly higher on the cheekbones and blending upwards towards the temples, which creates the illusion of added definition and length. For oval faces, the classic application on the apples of the cheeks works beautifully, as this shape is naturally balanced. Square face shapes can soften angular features by applying blush in a circular motion on the apples and blending towards the hairline. Heart-shaped faces look stunning with blush applied just below the cheekbones and blended outwards, which balances a wider forehead with a narrower chin. Long or oblong faces should apply blush horizontally across the cheeks rather than upwards, which helps create width and proportion. Understanding these placement principles allows you to enhance your natural features rather than working against them, resulting in a more harmonious and polished appearance.
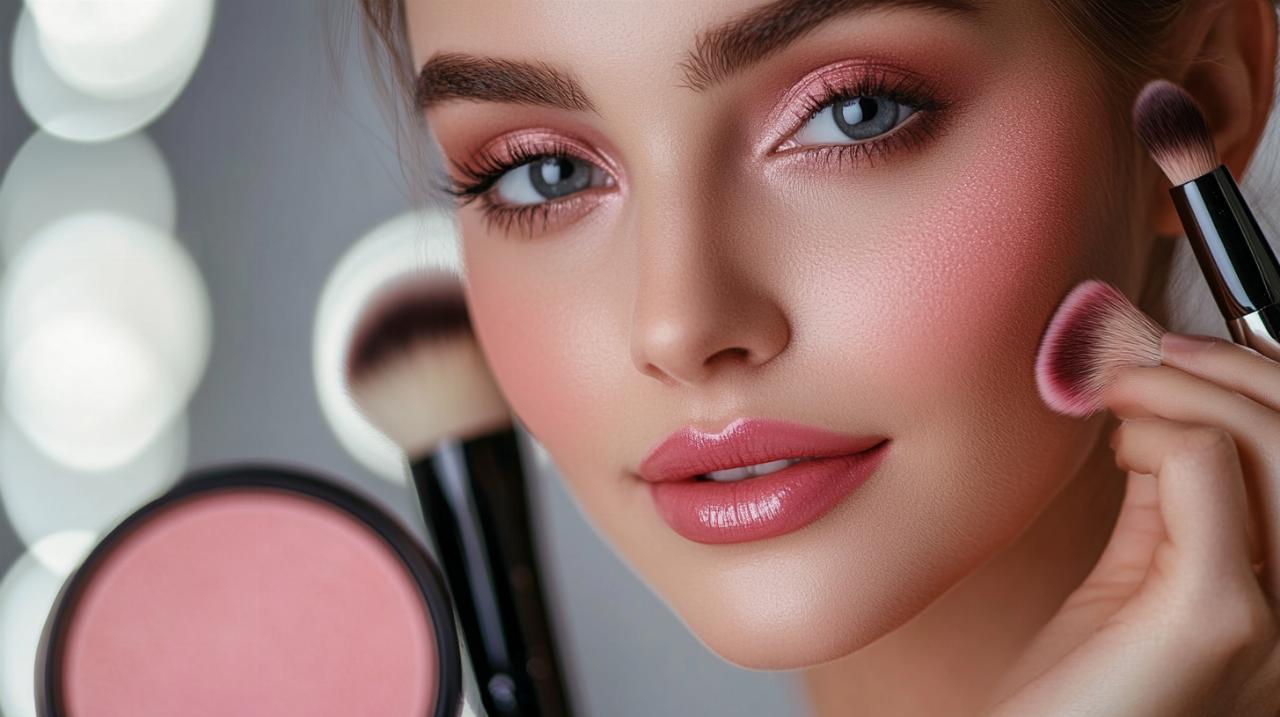
Blending methods that create a flawless, natural glow
Blending is where the magic truly happens in blush application. The difference between amateur and professional makeup often comes down to how well products are blended into the skin. Using circular movements for a seamless look is one of the most effective techniques for achieving that coveted airbrushed finish. Begin by applying your blush with a light hand, building intensity gradually rather than starting with too much product. This approach prevents the common mistake of over-application and ensures you maintain control over the final result. Once the initial colour is placed, use gentle circular motions to diffuse the edges, ensuring there are no harsh lines or patches. The goal is to create a soft gradient where the blush fades naturally into your foundation. Some makeup artists recommend the stippling technique, which involves gently tapping the brush against the skin to deposit colour without disturbing the base makeup. This method works particularly well for those with textured skin or when working with cream formulas. Remember that patience is essential during blending, as rushing this step can result in streaky or uneven application.
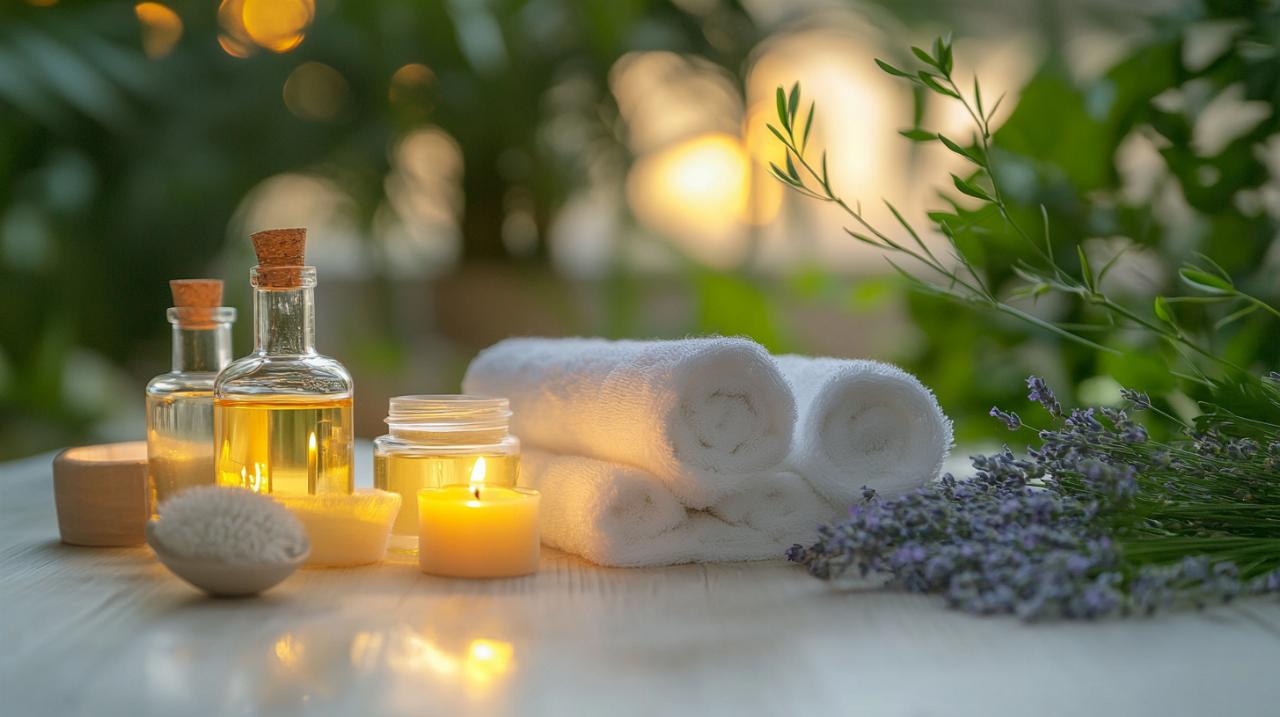
Selecting the Right Blush Formula and Shade for Your Skin Tone
Choosing the appropriate blush formula and shade is just as important as the application technique itself. The market offers various formulas, each with distinct characteristics that suit different skin types and desired finishes. Understanding these differences empowers you to make informed decisions that enhance your natural beauty. Equally crucial is selecting colours that complement your complexion rather than clash with it. The right shade can brighten your entire face and create a healthy, vibrant appearance, whilst the wrong one can appear muddy or artificial. Taking time to experiment with different shades to find your must-have is an investment in your makeup routine that pays dividends every time you apply your makeup.
Cream versus powder: which formula works best for you
The debate between cream and powder blush is ongoing in the beauty community, with passionate advocates for both formulas. Cream blush offers a dewy, luminous finish that melts beautifully into the skin, making it ideal for those with dry or mature skin types. The emollient texture provides hydration and creates a natural, skin-like finish that mimics a genuine flush from within. Applying cream blush is often easiest with fingertips, as the warmth of your hands helps the product blend seamlessly. Using fingers can add a unique touch to the application, allowing for precise placement and buildable coverage. Cream formulas work particularly well when applied after foundation to achieve sculpted features, as they layer effortlessly over liquid or cream base products. Powder blush, conversely, offers superior longevity and is excellent for oily or combination skin types. The matte or satin finish helps control shine whilst providing buildable colour that lasts throughout the day. Powder formulas are typically applied with brushes, which allows for more controlled placement and easier blending. For those who prefer a traditional makeup routine, powder blush integrates seamlessly with powder foundation or setting powder. Some makeup enthusiasts keep both formulas in their collection, using cream blush for a fresh, natural daytime look and powder for events requiring longer wear.
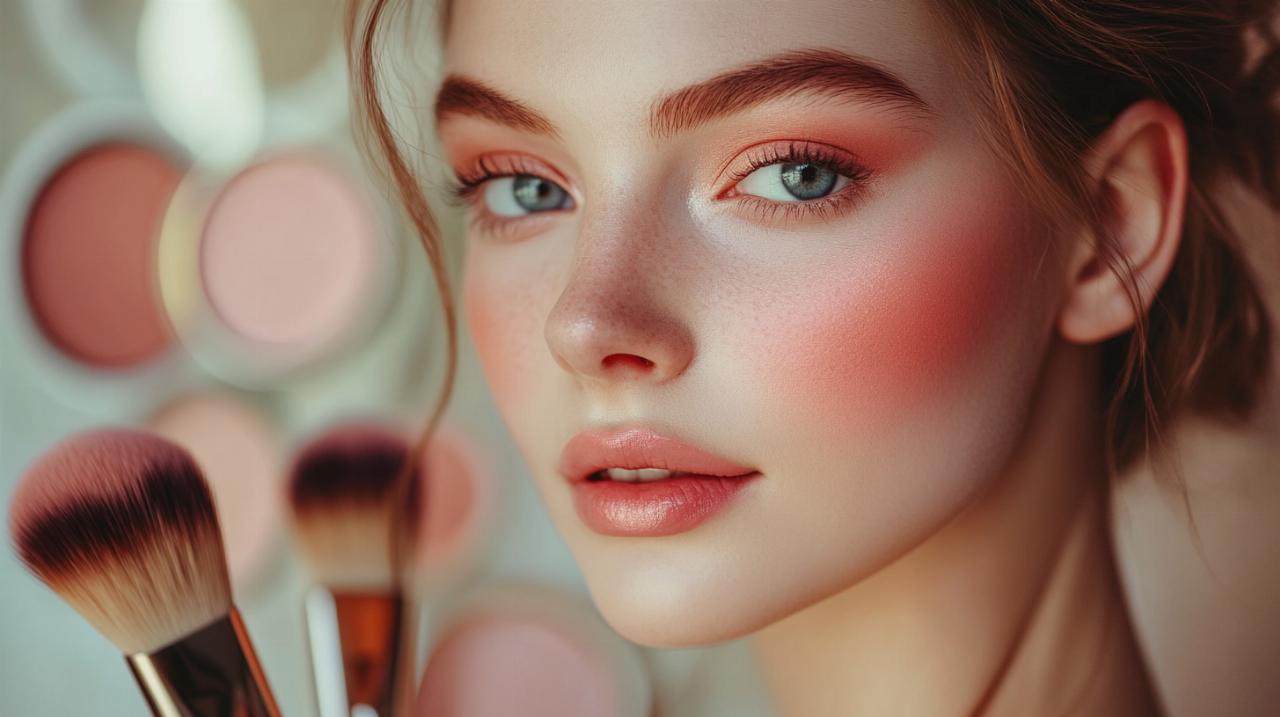
Choosing flattering colours that complement your complexion
Selecting the perfect blush shade requires understanding your skin's undertones and depth. Fair skin tones generally look stunning in soft pinks, peaches, and light corals that provide colour without overwhelming delicate complexions. Those with cool undertones should gravitate towards rosy pinks and berry shades, whilst warm undertones are beautifully complemented by peachy and apricot tones. Medium skin tones have the advantage of versatility, able to wear a wider range of shades from deeper pinks to warm terracottas and mauves. Rich, deep skin tones are absolutely radiant in vibrant oranges, deep berries, plums, and brick reds that show up beautifully against melanin-rich skin. A helpful trick when choosing the right shade based on your skin tone is to consider the colour your cheeks naturally flush when you exercise or feel embarrassed. Replicating this natural flush with blush creates the most authentic and flattering result. Many makeup artists recommend testing blush on the cheeks rather than the hand, as the undertones can appear quite different on the face compared to the arm. Natural light is your best friend when making these decisions, as artificial lighting can distort how colours appear on the skin.
Essential Tools and Expert Tips for a Professional Finish
The tools you use to apply blush can dramatically impact the final result. Professional makeup artists invest in quality brushes and tools because they understand that superior implements make the application process easier and the finish more polished. Beyond tools, there are numerous expert tips and techniques that can elevate your blush application from good to exceptional. These professional secrets often make the difference between makeup that looks homemade and makeup that appears salon-quality.
Selecting quality brushes and alternative application methods
Using a quality brush for even application is fundamental to achieving professional results. A good blush brush should have soft, densely packed bristles that pick up product evenly and deposit it smoothly onto the skin. For powder blush, a fluffy dome-shaped brush works beautifully for diffused application, whilst a smaller, more tapered brush offers precision for sculpting and defining. Natural hair brushes are often preferred for powder products as they hold and distribute pigment exceptionally well. Synthetic brushes, however, are ideal for cream formulas as they don't absorb product and allow for seamless blending. The size of your brush should correspond to the area you're covering; larger brushes work well for sweeping colour across the cheeks, whilst smaller brushes are perfect for targeted placement. Beyond traditional brushes, alternative application methods can yield stunning results. Makeup sponges, particularly when slightly dampened, create a beautiful, skin-like finish with cream blush. Stippling sponges offer buildable coverage and are excellent for those who struggle with blending. As mentioned earlier, fingertip application provides warmth that helps cream formulas melt into the skin whilst offering ultimate control over placement and intensity.
Building Intensity and Sculpting Cheekbones with Precision
One of the hallmarks of professional makeup application is the ability to build intensity gradually rather than applying too much product at once. A light touch can enhance cheekbones beautifully, creating dimension without appearing heavy or theatrical. Start with a small amount of product, applying it to the apples of the cheeks or along the cheekbones depending on your desired effect. Assess the colour in natural light, then add more product in thin layers until you achieve your preferred intensity. This layering technique prevents the common mistake of over-application and ensures a more natural, blended result. For those looking to sculpt and define their cheekbones, strategic blush placement combined with complementary products creates stunning dimension. After applying your main blush colour, consider using a slightly deeper shade just beneath the cheekbone to add definition and shadow. This technique, when blended properly, creates the appearance of more prominent bone structure. Some makeup artists recommend smiling whilst applying blush to identify the apples of the cheeks, then relaxing the face to see where the colour naturally settles. Experimenting with different placement techniques helps you discover what works best for your unique features. Remember that makeup is an art form that improves with practice, so don't be discouraged if your first attempts don't yield perfect results. With time and experimentation, you'll develop an intuitive understanding of how blush interacts with your face shape, skin tone, and personal style, allowing you to create that professional finish effortlessly.